
Macro lens comparison
I remember seeing magical macro photos on the web and knowing I wanted in on that action, but feeling pretty intimidated about where to start. Macro lenses aren’t cheap, and I had no idea which was “the one.” So, I’m offering a peek into a few commonly used lenses to help you find the right fit for you. This isn’t an exhaustive lens comparison - because these babies aren’t cheap, and I don’t have every lens out there. But I can tell you what I’ve learned about a few of the most popular lenses ones. I’ve included a photo of the same subject taken with each lens to give you a feel for how each one affects your photo.
Canon 100mm 2.8
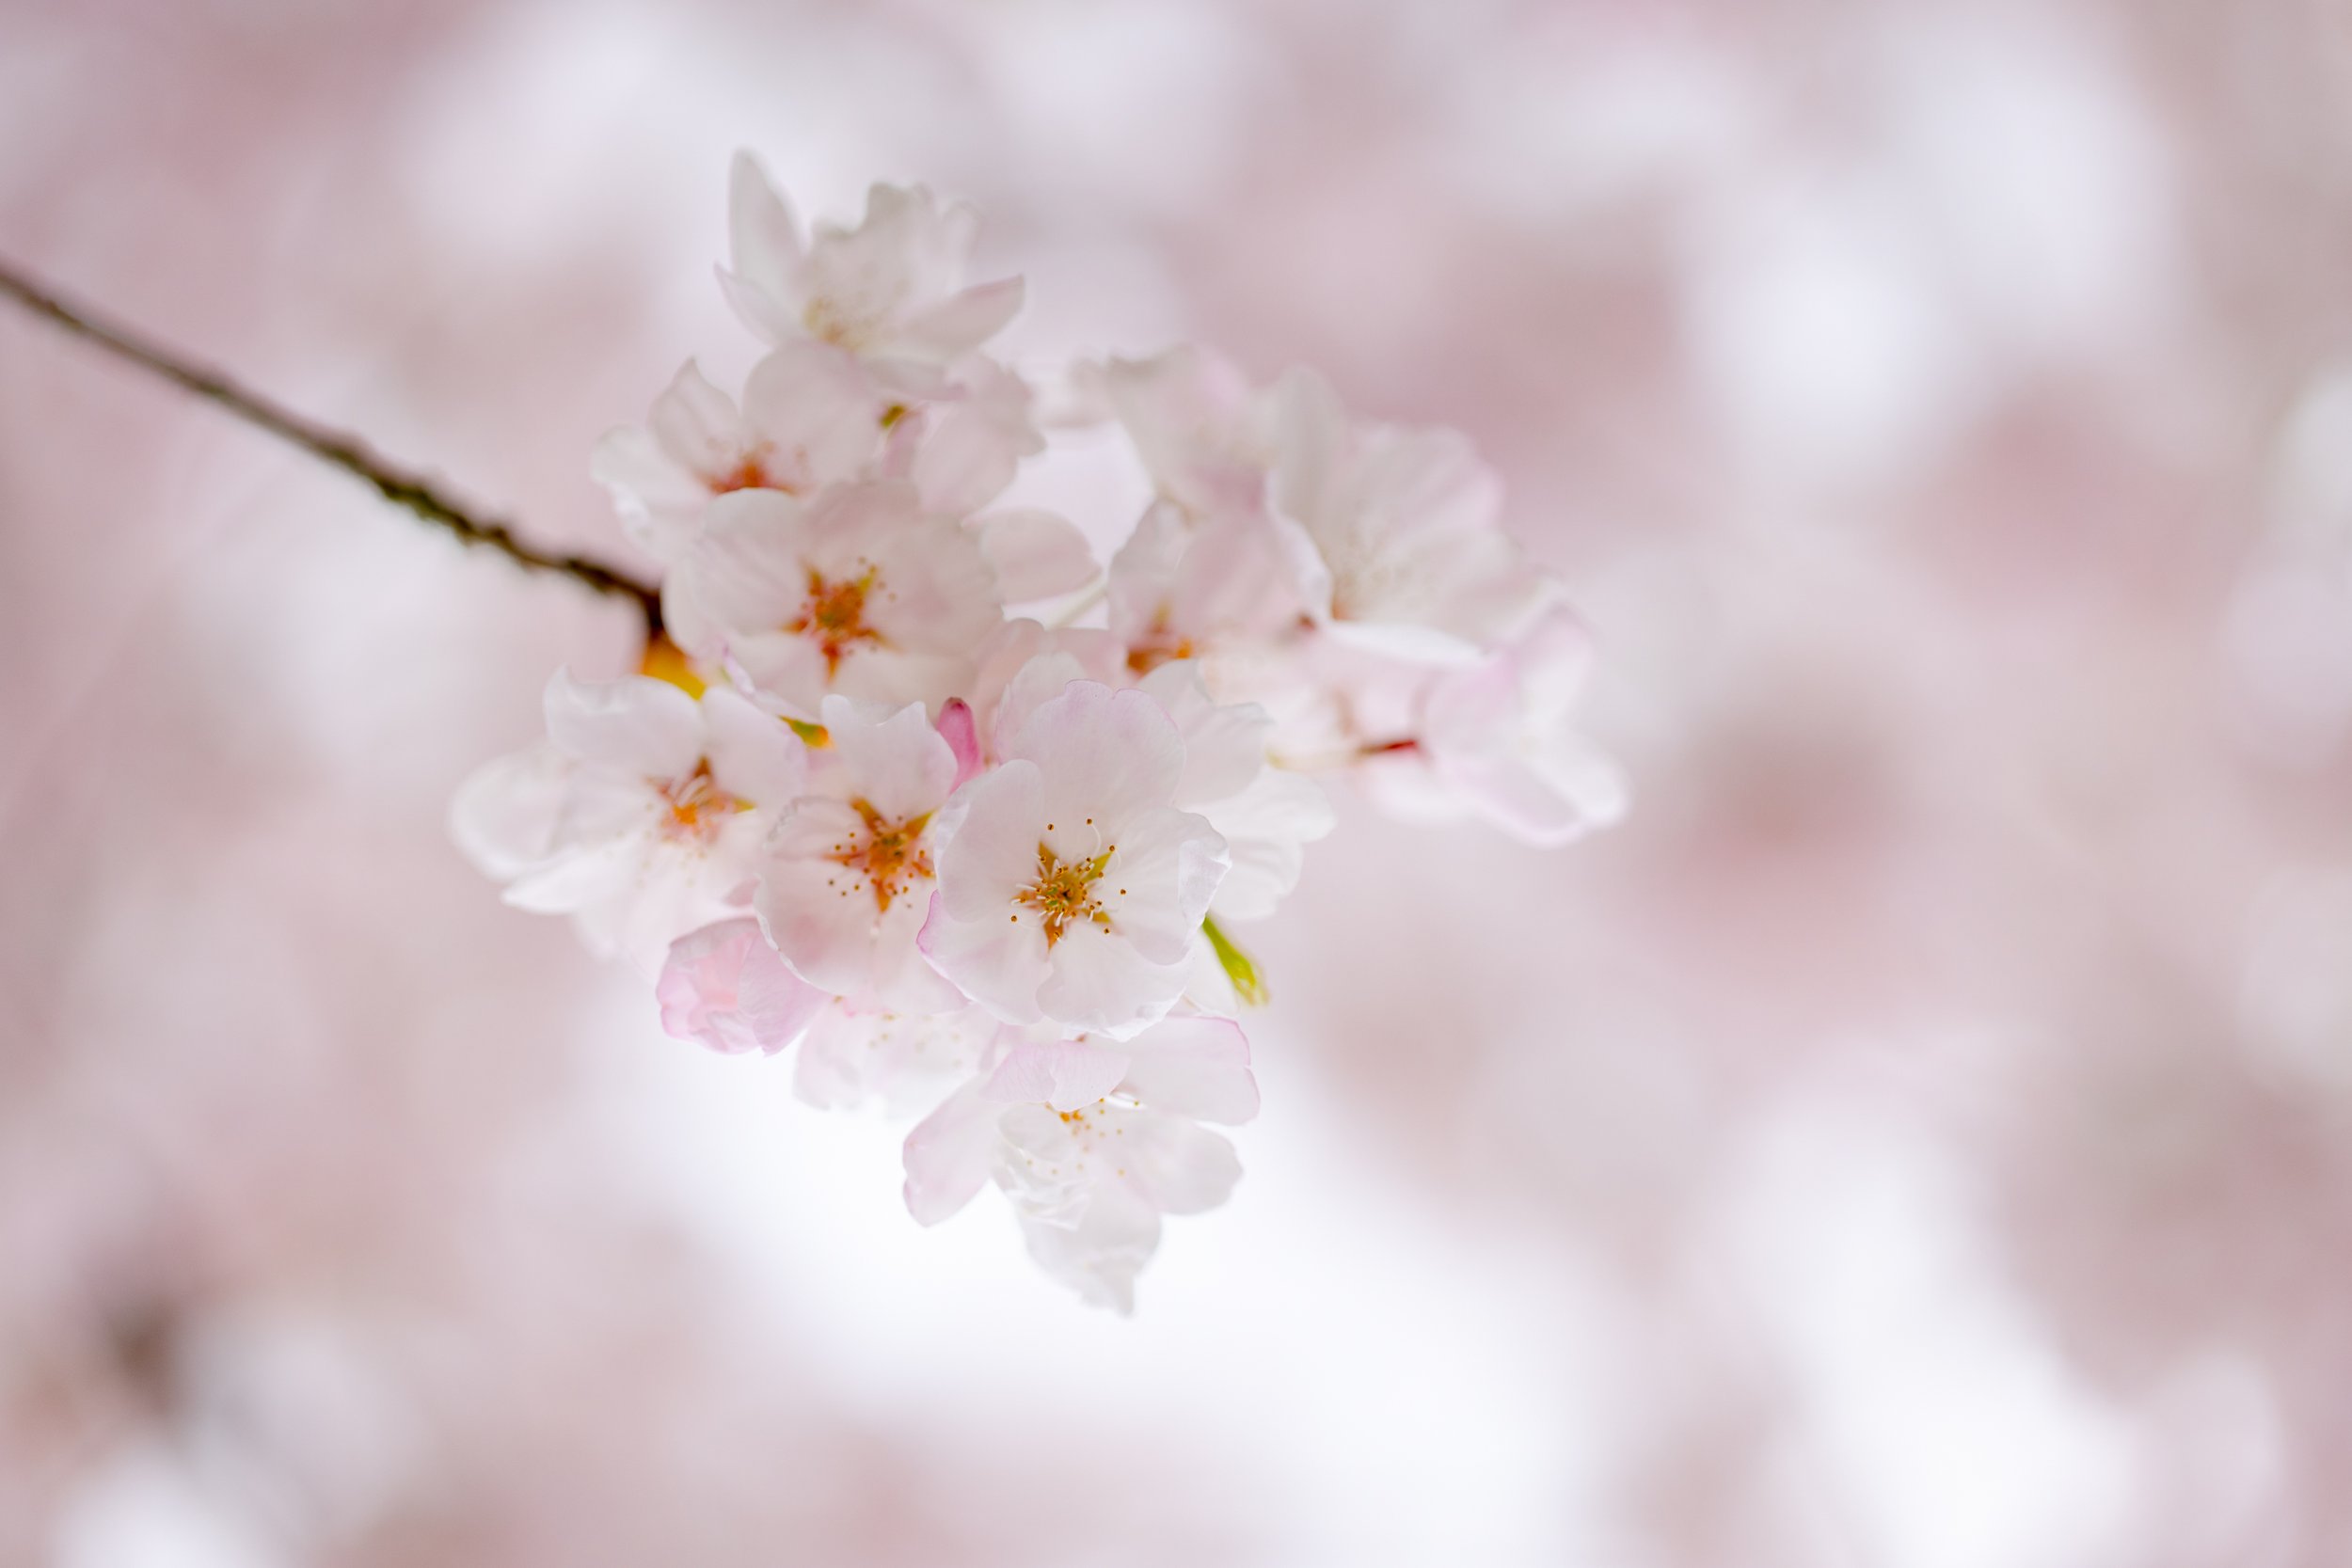
Canon 100mm 1.8 Crisp, with great bokeh
This is the “gold standard” of macro lenses, and Nikon makes the same/similar lens. It is crisp, gives great blur, and catches really beautiful details. The 100mm reach allows you to pull back from your subject enough to let in sufficient light. (I started with a 60mm and found I rarely got enough light to get anything I loved). The long focal length gives you a lot of compression - which may or may not be what you’re going for. I love this lens, so if you have the money to invest, and are pretty sure you really want to jump in, I think it’s worth saving up. Don’t take my word for it, though. Make sure you rent the lens before buying. (A good idea before any major photography purchase - I use Borrow Lenses).
Lensbaby Velvet 56

Lensbaby velvet creates a dreamy, soft image with beautiful blurred background
The Velvet series is a much more affordable lens if you like “soft” macro images. It lets in great light, it comes in a 56mm or an 85mm, so you have a few options, and it creates really beautiful blur. Wide open this lens is pretty soft, but you can stop it down, and at around f/4.5 it starts giving you a lot better clarity.
Lensbaby Edge 80

Lensbaby Edge gives you a “slice” of focus, and throws the rest into really great blur.
The Edge isn’t a dedicated macro lens, but it has a little toggle that allows some macro work. This lens is unique. Rather than choosing an aperture, you move the end of the lens itself around to designate a slice, or plane, of focus. The rest of the photo is thrown out of focus - but not to the same level as the Velvet. I love the control over what is in focus, and have found it to be a surprisingly versatile lens. When a landscape or light situation is challenging, it allows you to use some creativity to “make it work” in those less-than-ideal conditions.
Freelens with a 50mm

Freelensing is a great way to try out macro photography without investing in a dedicated lens.
Freelensing is a photography skill that you should definitely give a try, whether or not macro is your thing. I heard a lot more about it before Lensbaby came into vogue. Crazy as it sounds, you start by taking your lens off of your camera. Turn the lens backward, and hold it up to the spot it is normally attached. Then you shoot through that unattached lens backward. This technique gives you a magnification effect, as well as blurring and warping your edges a little bit to give you a really fun effect. If you’re not sure yet whether you like macro enough to invest in the lens, give it a try!
A few tips to consider…
One other affordable option for macro is to purchase an extension tube. Some people will even use an extension tube with a macro lens to get more magnification. I haven’t used an extension tube, so I did now review it here, but it is definitely worth researching if you plan to dabble in macro without committing enough to really spend money on a dedicated lens.
Most macro lenses will require you to focus manually. The 100mm f/2.8 has auto focus, but don’t let this be your deciding factor. The reality is, when you get that close to your subject, your camera will struggle to grab focus. You will end up using manual focus most of the time, no matter which lens you use.
“Focus peaking” is a game changer! It helps you avoid “macro headache” better than any other single factor! The detail of macro work is really difficult to see in the small space of your viewfinder or LCD. (Which causes me to squint my eyes and results in “macro headache”). Enabling your focus peaking setting will save you! Thank goodness for Lisa Edney teaching me that trick! (If you’re interested in the Lensbaby lenses, she is a whiz - check out her instagram feed to really see what you can do with them!)
While it is an affordable option, I wouldn’t recommend a 60mm macro lens. I tried one when I got started, and was very rarely happy with my results. It lets in very little light, struggles to get focus, forces you to get really tight to your subject, and just generally wasn’t fun to shoot with. I quickly became discouraged with it, and have been happier with EVERY other lens I have attempted macro work with (including just getting close with my Canon 24-105mm f/4.0). Not worth the room in your camera bag.
I hope you find this comparison helpful. Please feel free to ask questions via email or in the comments!
Happy shooting!